


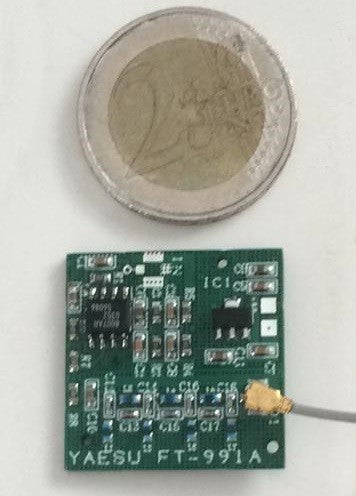


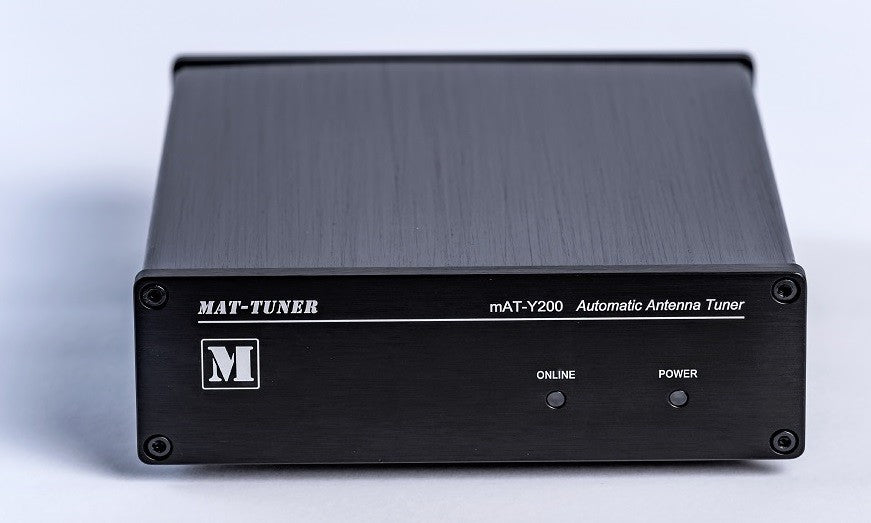


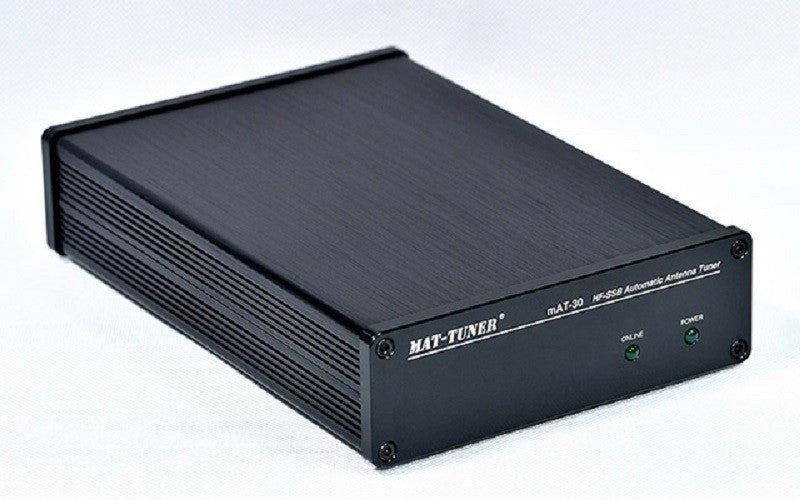
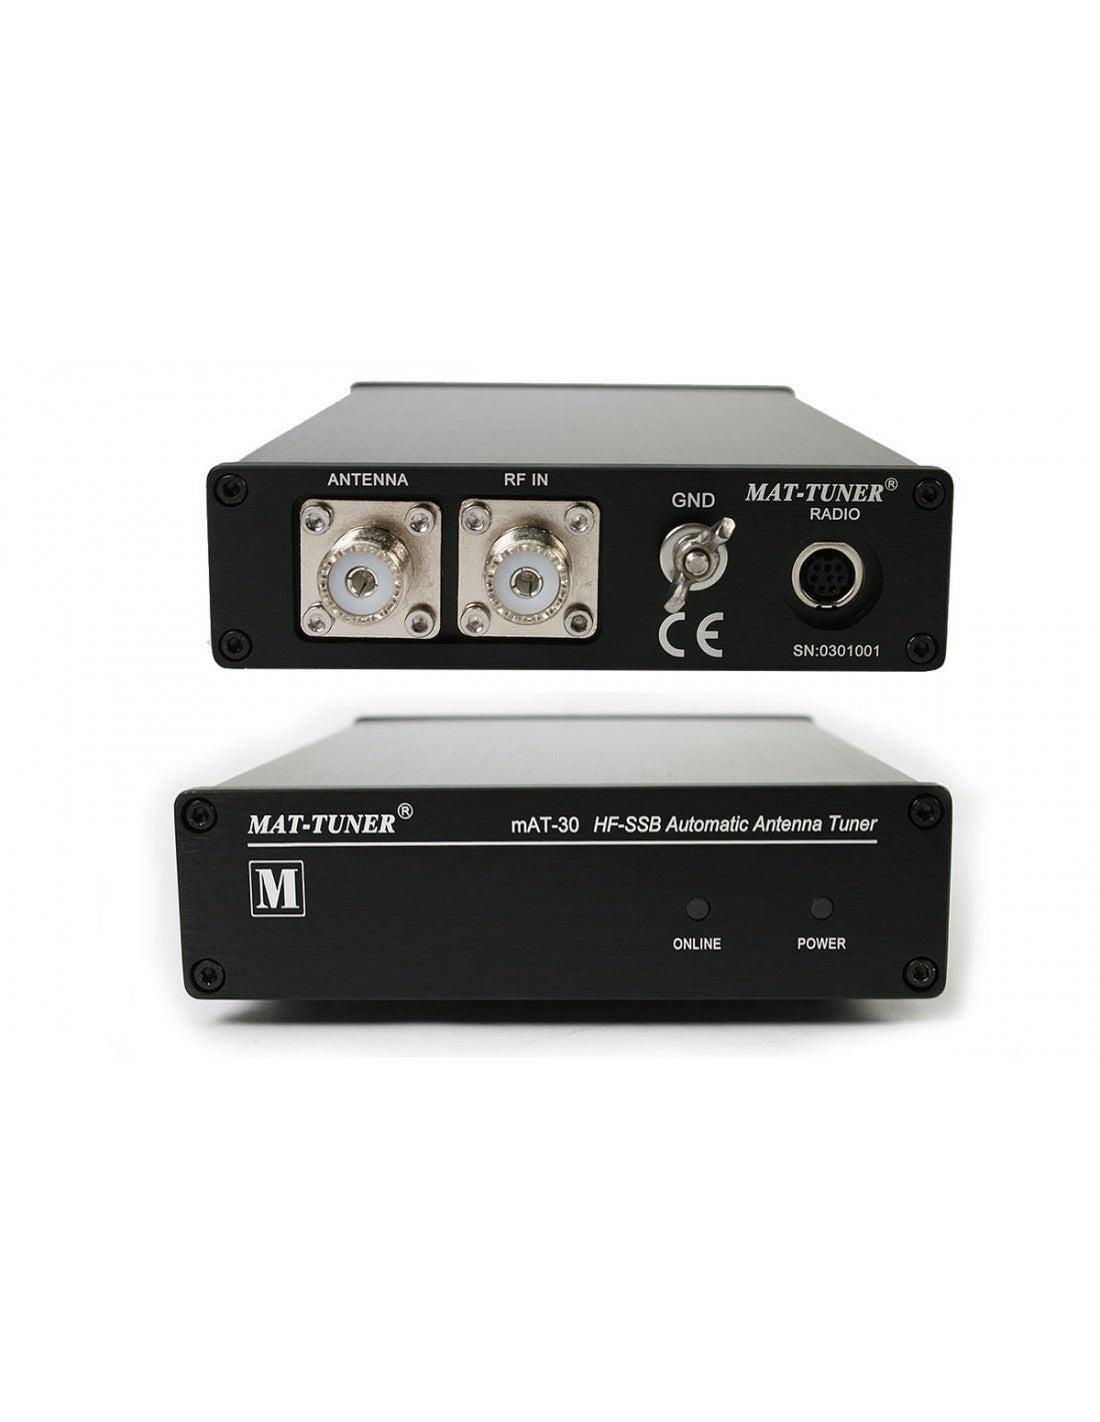
mAT-30 is an automatic tuner for the frequency range from 1.8 to 54 MHz. The tuner is compatible with a variety of Yaesu radios. Therefore, it can be used on all Yaesu transceivers that can use Yaesu FC-30, FC-40 or FC-50 tuners. These include, among other models: FT-100, FT-857D, FT-897D, FT-450D, FT-891, FT-950, FT-991 (A). A suitable control cable for the radio's CAT output is included. This cable is also used for power supply.Operation is via the "Tune" button on the radio. This simplifies the tuning process by automatically switching to low power and CW mode, as well as returning to the previously used power and transmission mode. The minimum tuning power is 1 W, a maximum of 120 W PEP can be used, with RTTY and other continuous wave modes approximately 30 W max. The tuner tunes antennas in an impedance range of approx. 5 to 1500 Ohms, which is much more than what typical built-in tuners can handle.
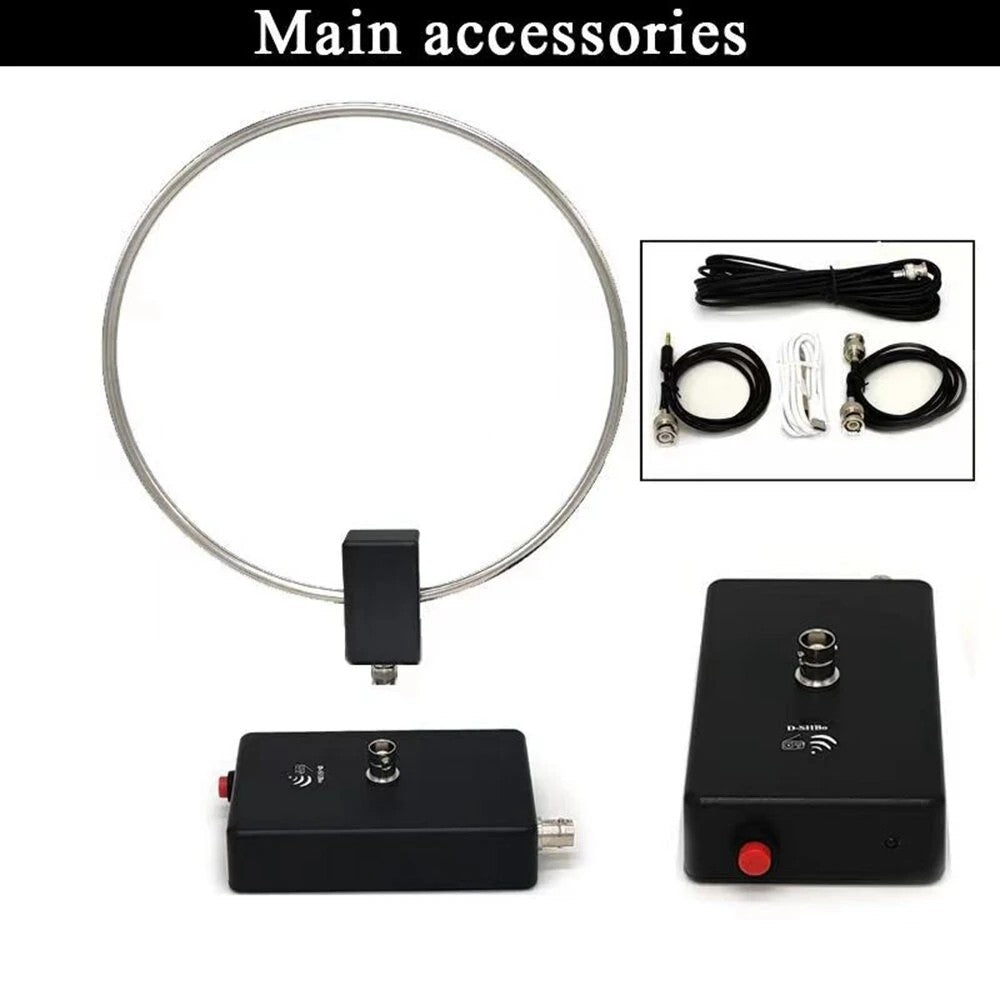
SUPPLIED:
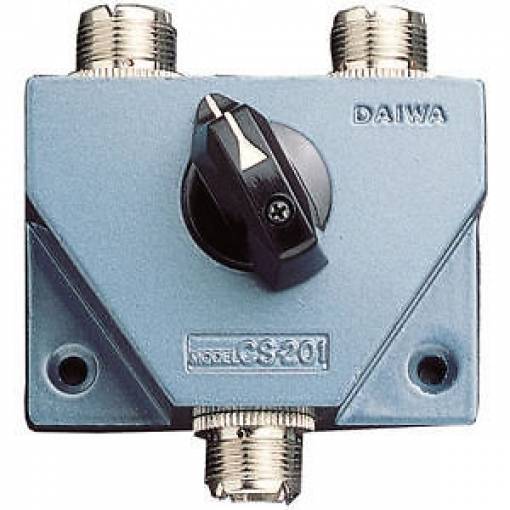
-mAT-30 Tuner
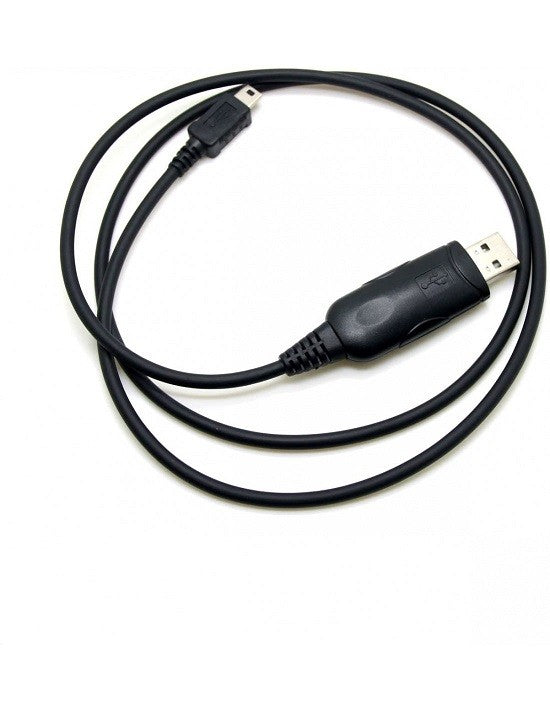
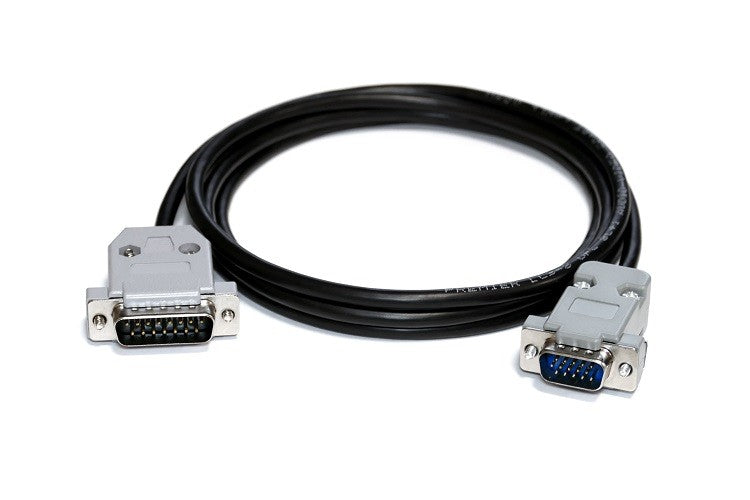
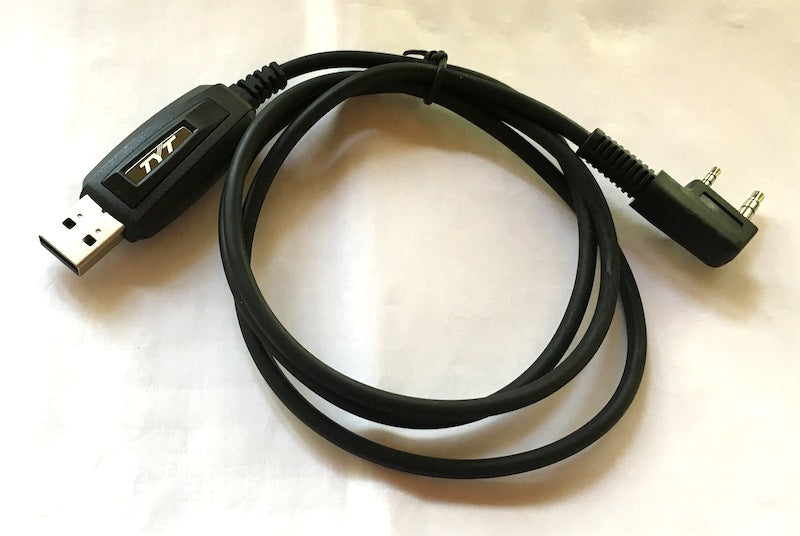
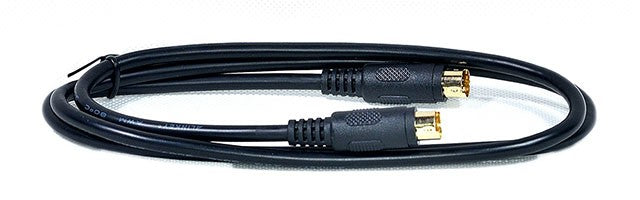
-Yaesu control cable (2x 8-pin MiniDIN)
FULL DESCRIPTION
The mAT-30 is an automatic antenna tuner for use with modern YAESU transceivers. It works with YAESU transceivers that support a YAESU FC-30, FC-40, or FC-50 tuner; a partial list of compatible units includes: FT-100, FT-857D, FT-897D, FT-450D, FT-891, FT-950, FT-991, FT-991A, FTDX-3000. Operation is the same as the YAESU tuner method, which is simple and convenient.
Currently, the mAT-30 does not support FT-817/818. If you have this device, you can choose the mAT-10, which is specially designed for QRP transceivers and perfectly supports FT-817/818 and other QRP devices.
The mAT-30 connects to the transceiver via the CAT / LINEAR jack to control the tuning cycle, the transceiver's Tune button controls the tuner. The CAT / LINEAR jack (CABLE INCLUDED) also powers the tuner, so it does not require external power. Tuning is performed when the TUNE button is pressed on the front of the transceiver and held for one second.
The mAT-30 can operate in the range from 1.6 MHz to 54 MHz, at power levels up to 120 watts. It will tune dipoles, verticals, yagis, or virtually any coax-fed antenna. It will match an extraordinary range of antennas and impedances, far greater than that of other tuners you may have considered, including the built-in tuners on many radios.
The mAT-30 has 16,000 frequency memories. When tuning to or near a previously tuned frequency, the mAT-30 uses "Memory Tune" to recall previous tuning parameters in a fraction of a second. If no stored settings are available, the tuner performs a full tuning cycle, storing the parameters for recall from memory in subsequent tuning cycles on that frequency. In this way, the mAT-30 "learns" as it is used, adapting to the bands and frequencies as it goes.
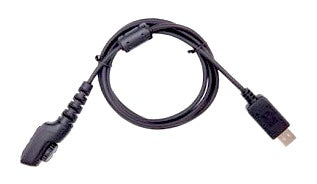
The mAT-30 mAT-CY control cable provides control signals between the YAESU transceiver and the tuner. As the figure shows, the control cable has two 8-pin mini-DIN connectors. The mAT-CY can also be used by the mAT-10 to connect the YAESU FT-817/818. Press and hold the transceiver's [TUNER] button for two seconds to start the tuning process. Quickly press [TUNER] to bypass the tuner.
The included transceiver control cable is 50 centimeters long. If you want the mAT-30 to be positioned further from the transceiver than this cable length allows, you will need to build a custom cable. This can be achieved in two ways: cutting the included cable and soldering a jumper between all connections, or purchasing new connectors and cables to build a custom length control cable from scratch.
Set the Yaesu transmitter menu to support mAT-30
FT-857 / 857D 1. Hold down the [FUNC] button for one second to activate Menu mode. 2. Rotate the SELECT knob to recall menu mode No. 001 [EXT MENU], then rotate the DIAL knob to change the setting to "ON" and enable the extended menu mode. 3. Rotate the SELECT knob to recall menu mode No. 020 [CAT / LIN / TUN]. The default setting for this menu is "CAT". Rotate the DIAL knob to change the setting to "TUNER". 4. Hold down the [FUNC] button for one second to save the new setting and exit, then turn off the transceiver. 5. According to the instruction manual, connect the RF and data connection between the tuner and the transmitter. Do not configure the mAT-30 and FT-857D before changing menu mode, item No-020 [CAT / LIN / TUN]. 6. Hold down the [FUNC] button for one second to activate Menu mode. 7. Rotate the SELECT knob to recall menu mode No. 085 [TUNER / ATAS]. The default setting for this menu is "OFF". Rotate the DIAL knob to change the setting to "TUNER". 8. Hold down the [FUNC] button for one second to save the new setting and exit.
FT-897 / 897D 1. Hold down the [F] button for one second to activate Menu mode. 2. Rotate the MEM / VFO CH knob to recall menu mode No. 001 [EXT MENU], then rotate the DIAL knob to change the setting to "ON" to enable the extended menu mode. 3. Rotate the MEM / VFO CH knob to recall menu mode No. 020 [CAT / LIN / TUN]. The default setting for this menu is "CAT". Rotate the DIAL knob to change the setting to "TUNER". 4. Hold down the [F] button for one second to save the new setting and exit, then turn off the transceiver. 5. According to the instruction manual, connect the RF and data connection between the tuner and the transmitter. Do not configure the mAT-30 and FT-897 before changing menu mode, item No-020 [CAT / LIN / TUN]. 6. Hold down the [F] button for one second to activate Menu mode. 7. Rotate the MEM / VFO CH knob to recall menu mode No. 085 [TUNER / ATAS]. The default setting for this menu is "OFF". Rotate the DIAL knob to change the setting to "TUNER". 8. Hold down the [F] button for one second to save the new setting and exit.
FT-450D 1. Press and hold the [F] button for one second to enter the menu mode. The "MENU" icon will appear on the display. 2. Rotate the [DSP / SEL] knob to select the "TUNER" menu step. 3. Press the [DSP / SEL] knob to enable this selected menu item. 4. Rotate the [DSP / SEL] knob to change the setting to "EXT ATU". 5. Press and hold the [F] button for one second to return to normal operation. OPERATION 1. Briefly press the [TUNE] button to activate the automatic antenna tuner. The "TUNER" icon will appear on the display. If the transceiver frequency is outside the amateur band, the "TUNER" icon will not appear. 2. Press and hold the [TUNE] button for one second to start automatic tuning. The transmitter will be activated and the "TUNER" icon will flash during tuning. 3. Tuning will stop automatically when a low SWR is reached. You can press and hold the [TUNE] button for one second while tuning is in progress to cancel automatic tuning. 4. To disable the automatic antenna tuner, briefly press the [TUNE] button again.


